


Creating the realistic rock by Marco Spitoni
Creating the realistic rock
"Creating the realistic rock " by Marco Spitoni
In the following tutorial I’ll explain how to achieve a good looking rock quickly and using textures from
http://www.environment-textures.com/
1. Create a box similar to the one shown below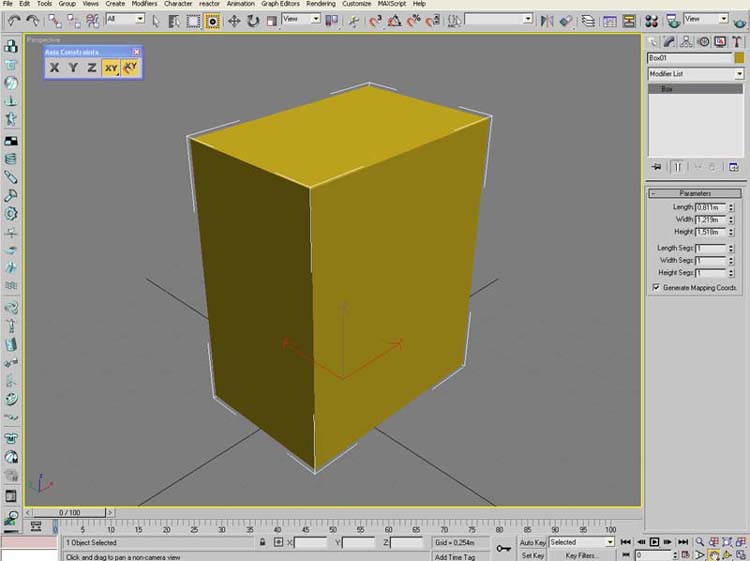
2. Transform the box in an editable poly and apply some chamfer to its edges in order to turn the shape in something more complex.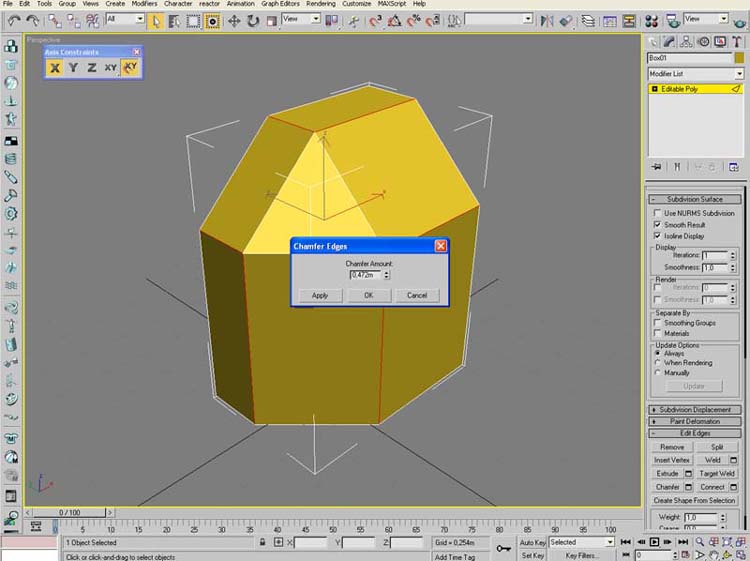
3 Move some of the vertices around to add a more “random” look to the shape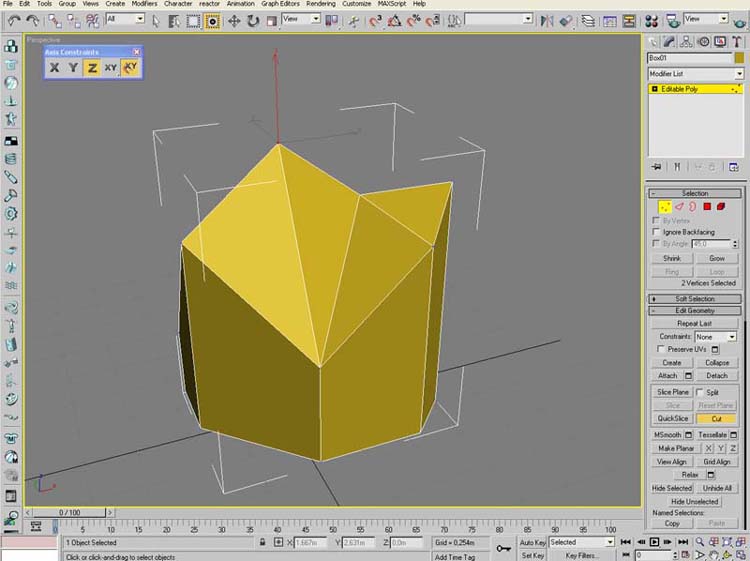
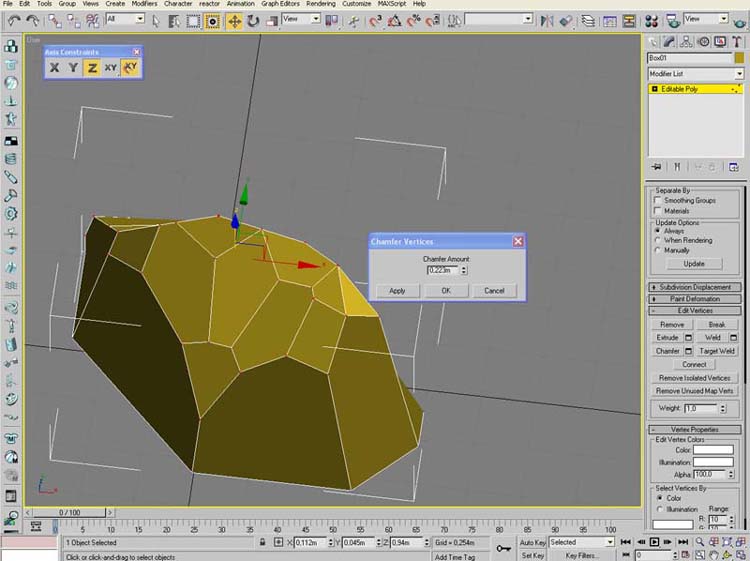
4. In this case we want a big rock coming out from the ground, so I scale vertices at the base of the shape.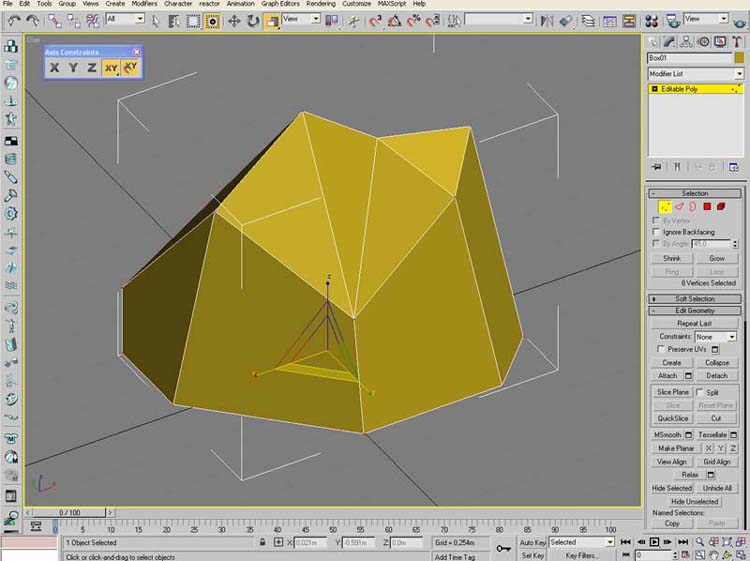
5. Again, select some vertices and apply a chamfer, like shown below
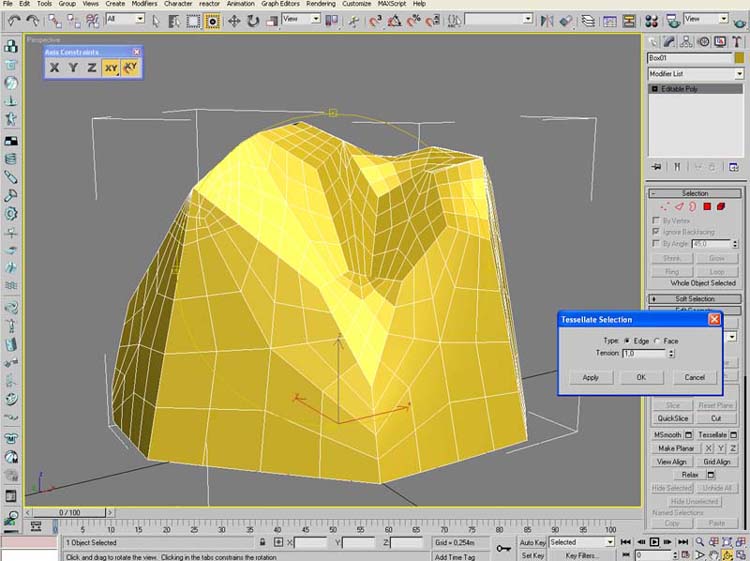
6. We are going to need some more geometric detail to lately displace the surface properly, so we start to add a tessellation.
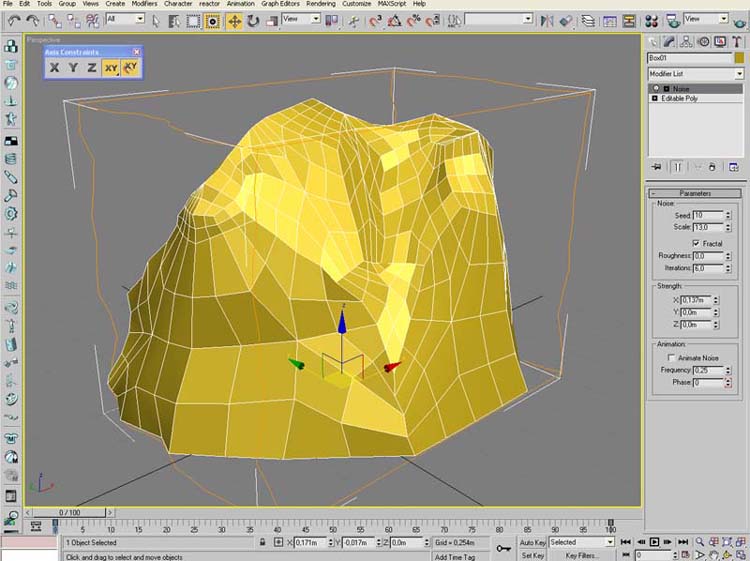
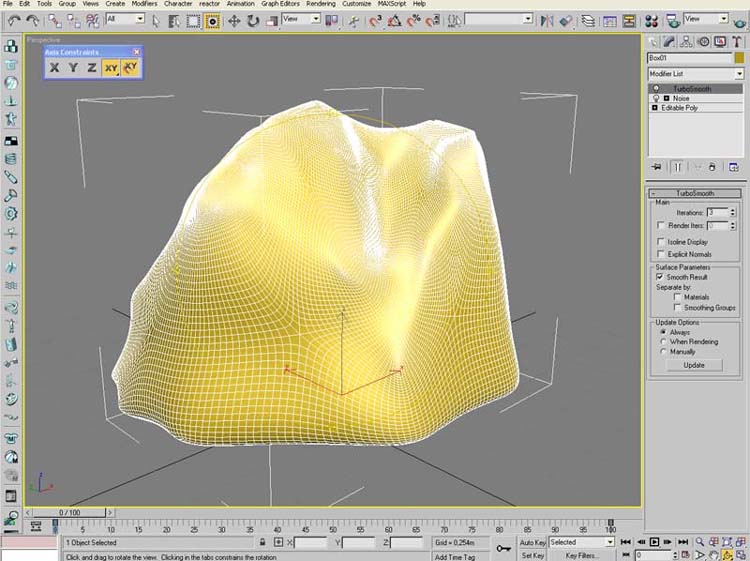
7. Let’s add a more natural and random shape to this rock, apply a noise modifier as shown below. Adjust the scale values in order to avoid too much sharpness or extremely protruded edges.
8. We need more geometric detail. Apply a turbosmooth modifier to achieve a denser geometry like in the example below.
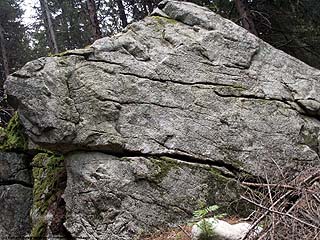
9. Now it’s time to add displacement, but we need a good texture to use as bitmap reference for the modifier as well for the diffuse map. I’ve used a texture provided by environment-textures.com, which came as photograph with some surrounding details. We need a clean rocky texture, so I removed in Photoshop any unwanted detail using the clone brush. Be sure to remove the larger cracks that otherwise would results too much obvious as texture.
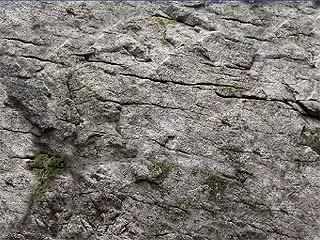
Just duplicate and desaturate the same texture and save it with a different name (e.g. texturename_displace.jpg)
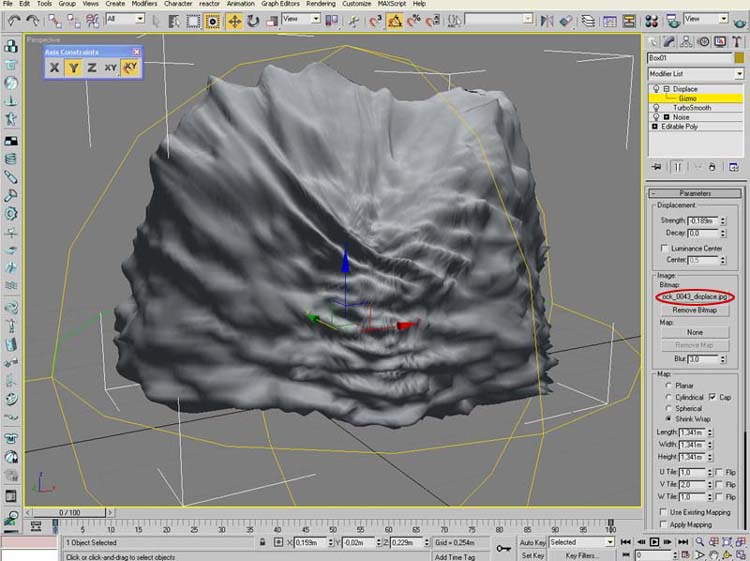
Apply the displace modifier and use the bitmap just created as displace image, as shown below. Use a blur value of about 3,0 to avoid too much sharpened edges and a negative value for strength. I’ve used -0,180m using meters as scale value in my 3DS Max, but of course this may change according to your system unit and scale used for your rock.
10. Now it’s time to apply a texture to give the final look to our rock. Prepare a material as shown below.
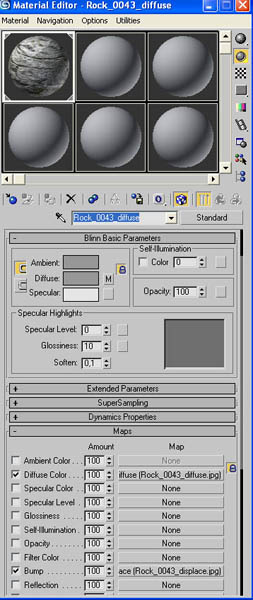
Note that we’re using again the displacement bitmap for bump effect this time.
11. Apply UV mapping to the rock, by using box mapping type as shown
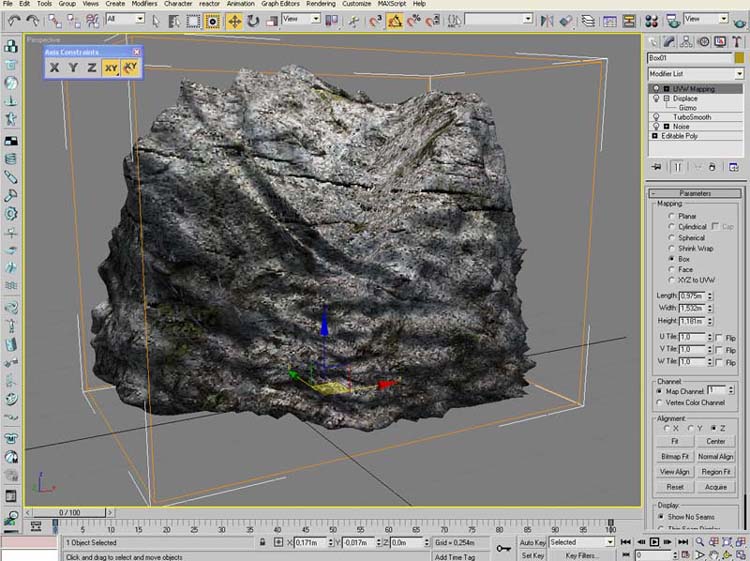
Just be sure that your bitmap is not upside down, the texture will definitely work better with almost every lighting only in the correct position.
You can use other type of mapping if you want, just choose the one that better match your rock shape.
Now place some lights, set a reasonable amount of ambient lighting and try some render. The two images below were rendered with Max’s default scanline render, one omni light with shadow maps.

(c) Marco Spitoni, www.cee-gee.net
Click for viewing tutorial on free3dtutorials .