


3D car modeling – BMW M3 GT2
3D car modeling – BMW M3 GT2
Another day - another project. This time the Rayhall ALMS BMW M3 GT2 race car. Please read the notes within the image description. I have used 3D Studio MAX, Vray, and Photoshop.
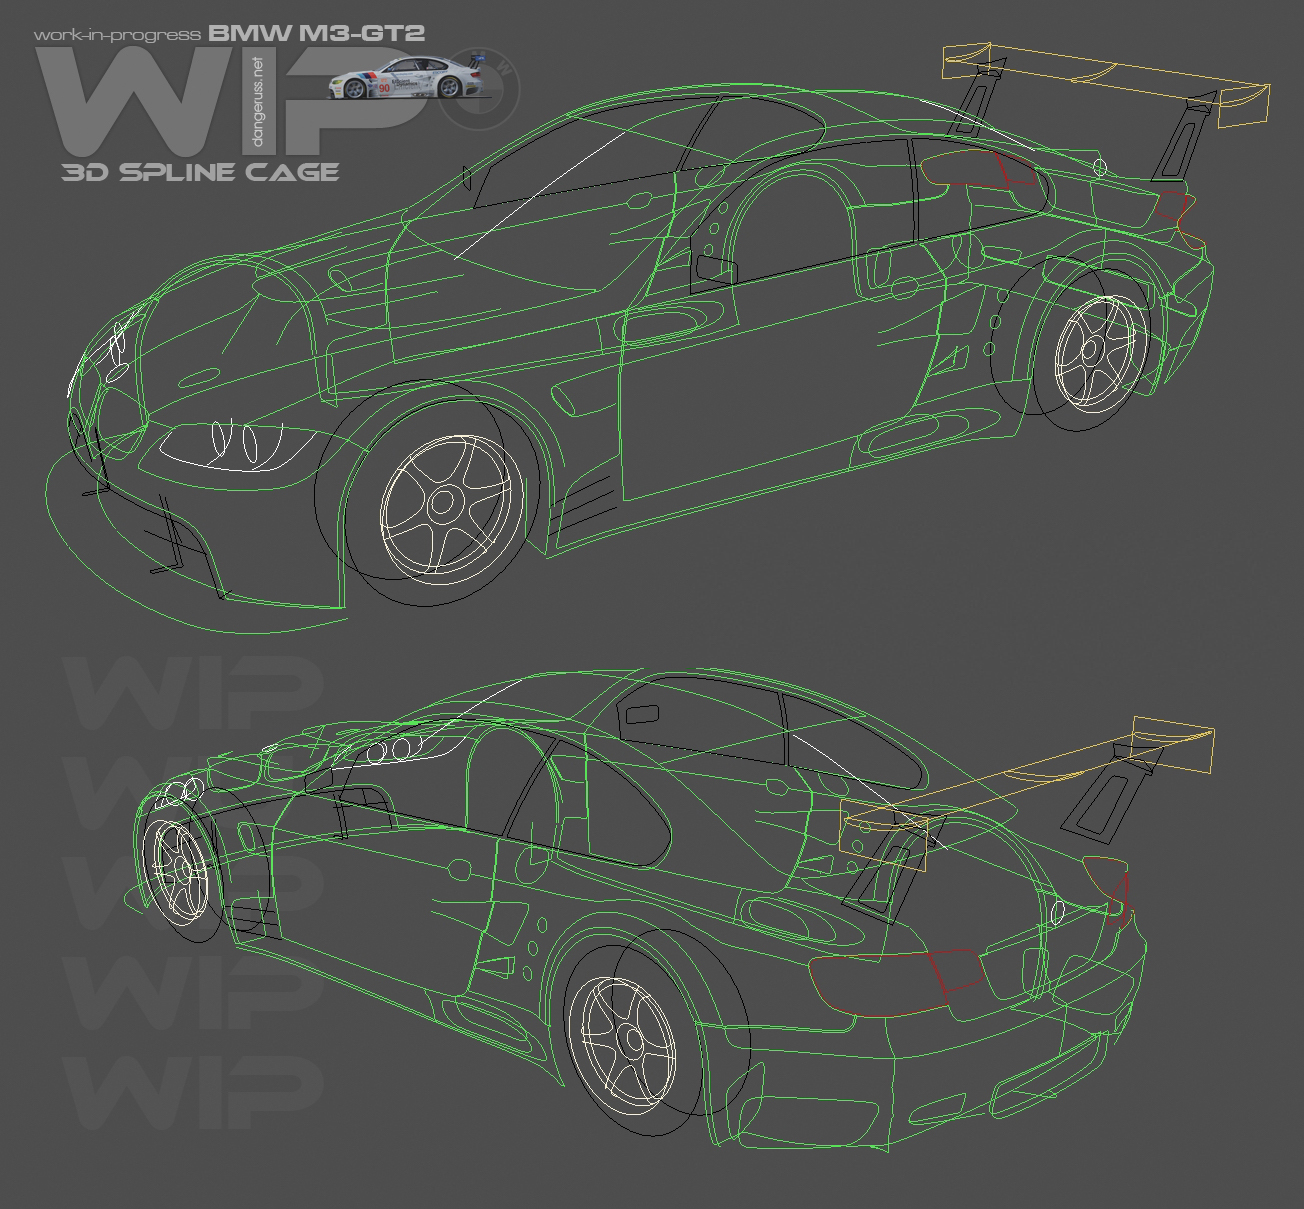
Step 1 - 3D Spline Cage
This is the first stage of my 3D methodology.
While I don’t use a Spline Cage and Patch Surfacing technique to model, I do use a spline "cage" as a reference for poly modeling. This allows me to work out my 3D proportions before building polys.
I then use these like a fully 3D blueprint to construct the body shapes. By using splines, I can create smooth flowing curves that help me position polygon vertexes accurately.
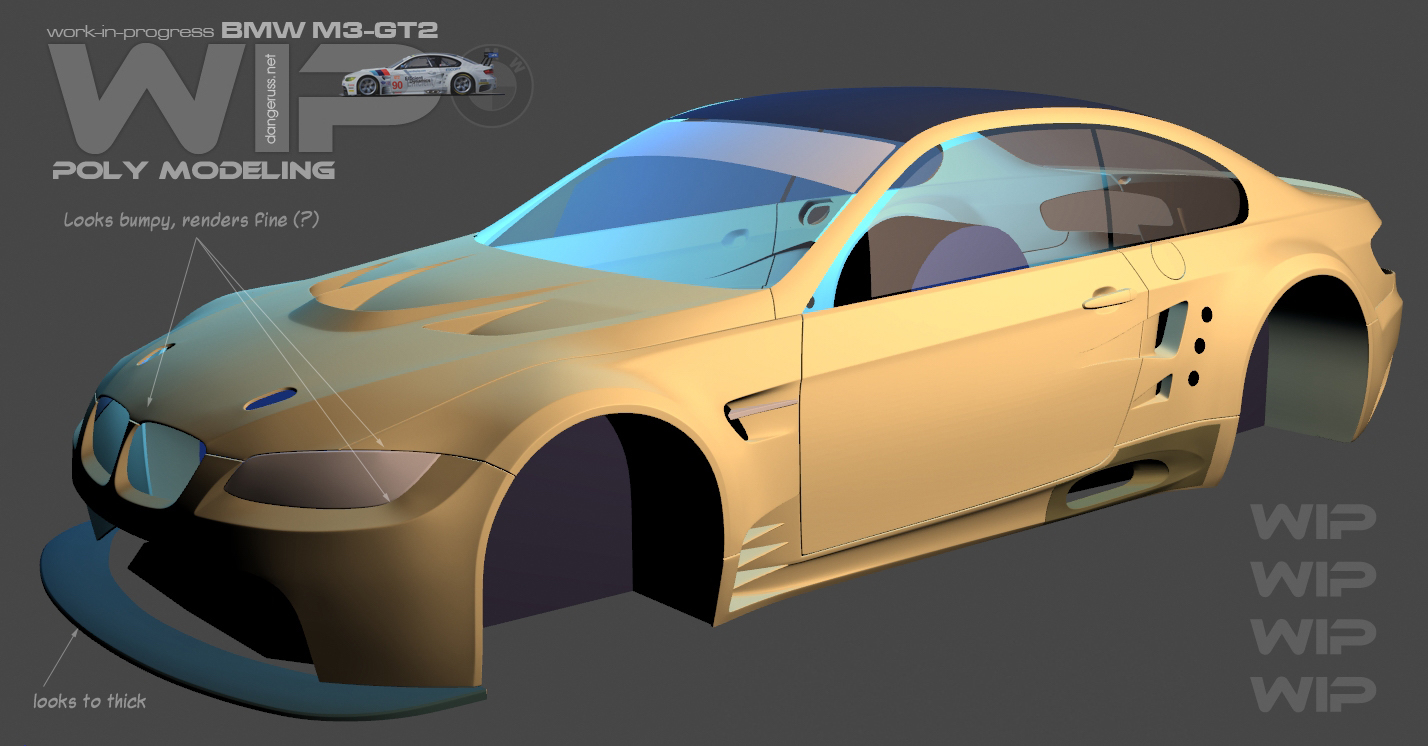
Step 2 - Poly modeling
Just the simplest of surfaces - the roof, and windscreens.

Step 3 - Poly modeling
Just like everyone else does, only model half of the symmetrical
geometry, then apply a symmetry modifier to create the mirrored half.

Step 4 - Poly modeling
Well just about all of the "easy" body shapes are done. The rest is full
of holes, vents, slots and screwy shapes. The rear fenders and rear
bumper are just nuts. I've already thrown one attempt at the rear
fenders away…I'm not looking forward to doing the bit behind the doors.
The ducts, holes, gas filter and wheel opening all sort of conspire to
be a "perfect" storm of 3D headaches. And... the other side is slightly
different with an exposed gas filter.

Step 5 - Poly modeling
Got the remainder of the body panels completed.
Step 6 - Wheel modeling
Wheel details.

Step 7 - Front clip details
Lots goin' on in this one. As you can see, I try to model using separate
parts whenever possible. When doing high-poly work, there's little real
incentive to model parts as a contiguous mesh. For me, having separate
parts makes editing easier, materials easier and when creating things by
eye, makes scaling and proportion changes easier.

Step 8 - Rear clip details
Some rear body details, not much to show here – detail-wise that differs
from the front. You can see all the separate bits in the exploded view.
Interior will be next.

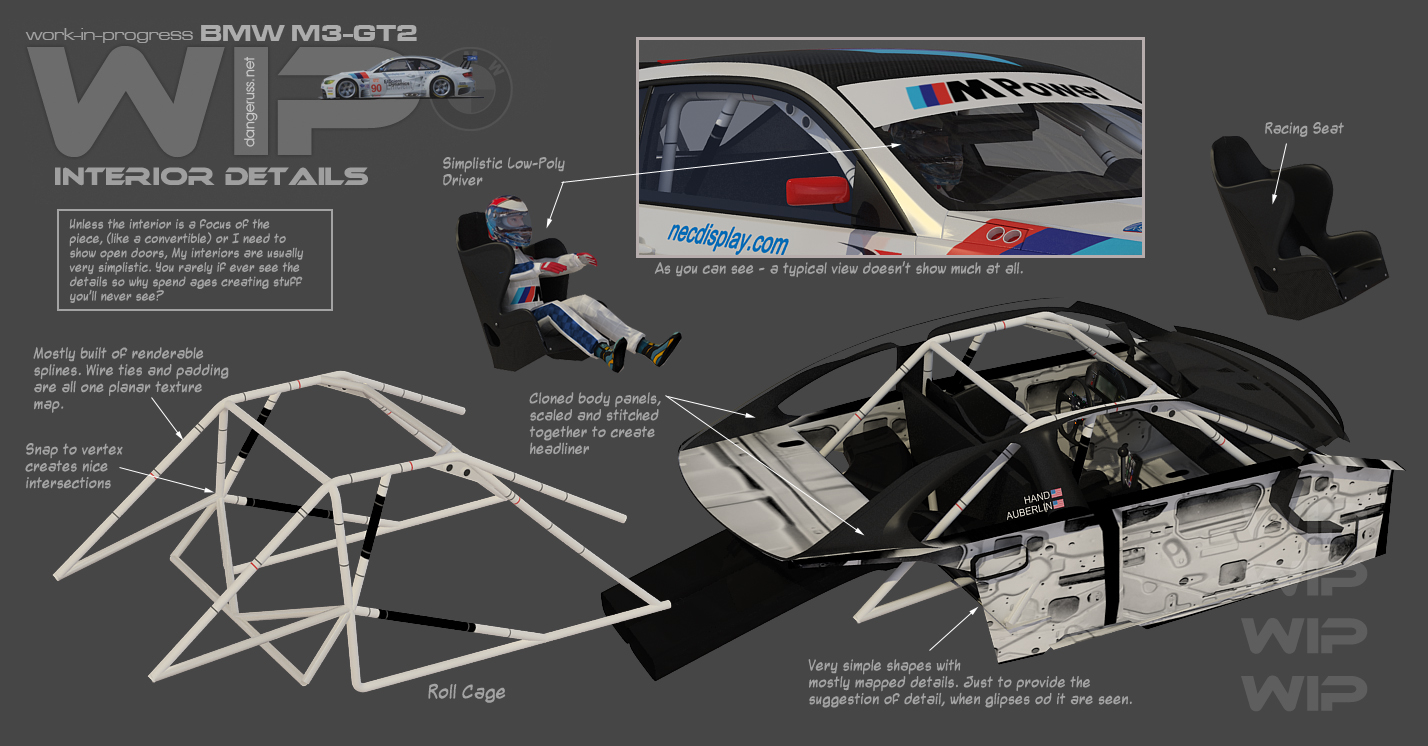
Step 9 - Interior details
Interiors are where you can get away with simple model and texture work.
Unless there's a specific reason to create the extra detail, I don't. I
see long drawn out WIP projects on other forums, where modelers are
creating every last stitch in 3D. 3D instrument numbers and so on. Nuts.
Even in close-ups, that detail is often lost. And for full car shots,
most of the time, you barely see the interior. When you're billing for
your time, you don't spend time doing things the client will never see.
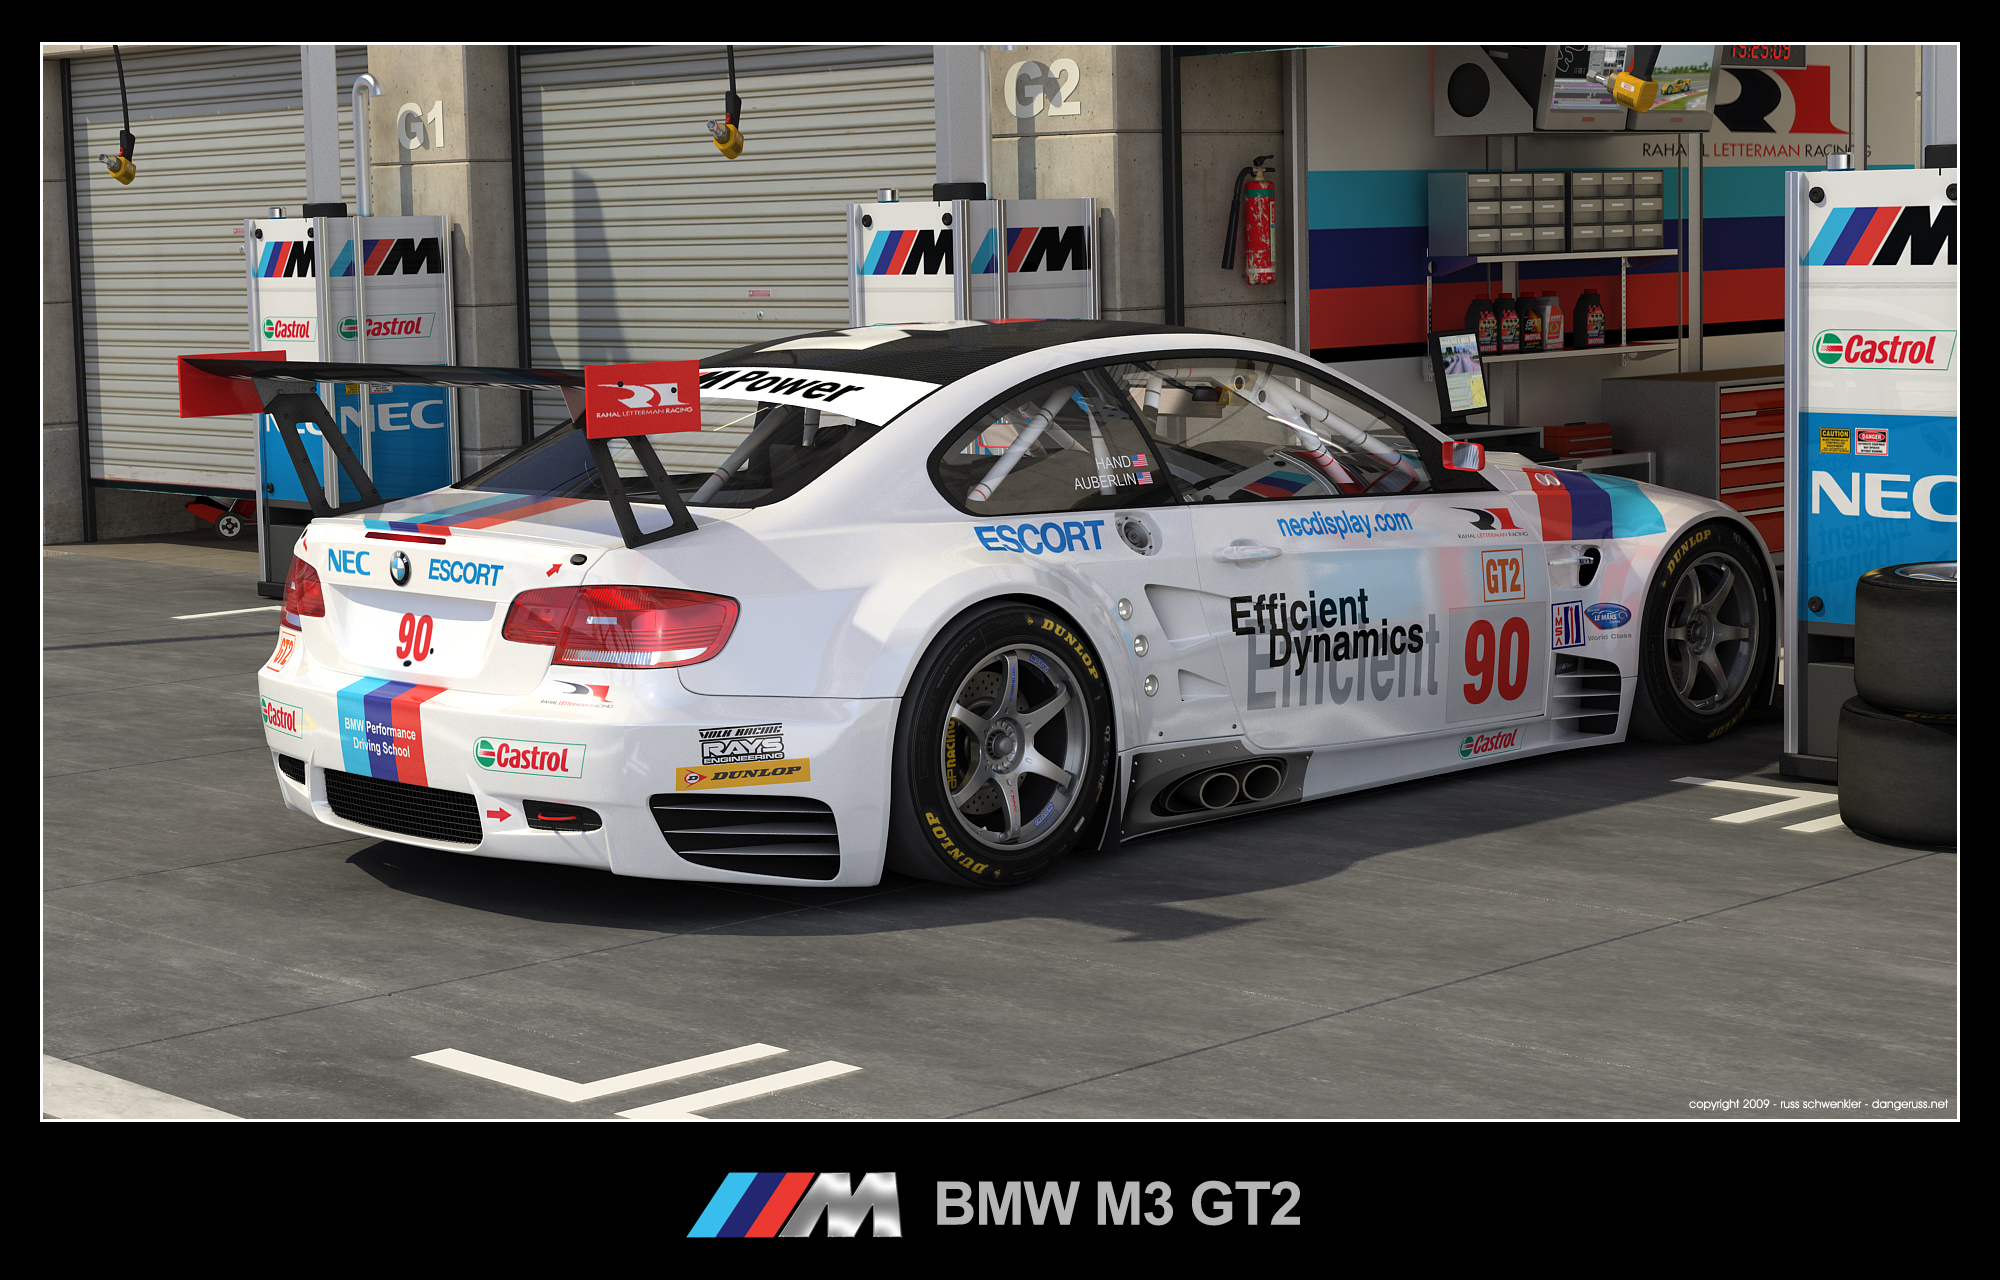
Step 10 - Final
OK!! It's all done now. Here is the complete car in a 3D garage
environment. HDRI are used for ambient lighting and reflections. There
is only one light (a shadow casting spot), the rest is IBL from the
HDRI. The garage geometry has been reused from previous scenes with a
few new textures to update it and make it match the car.
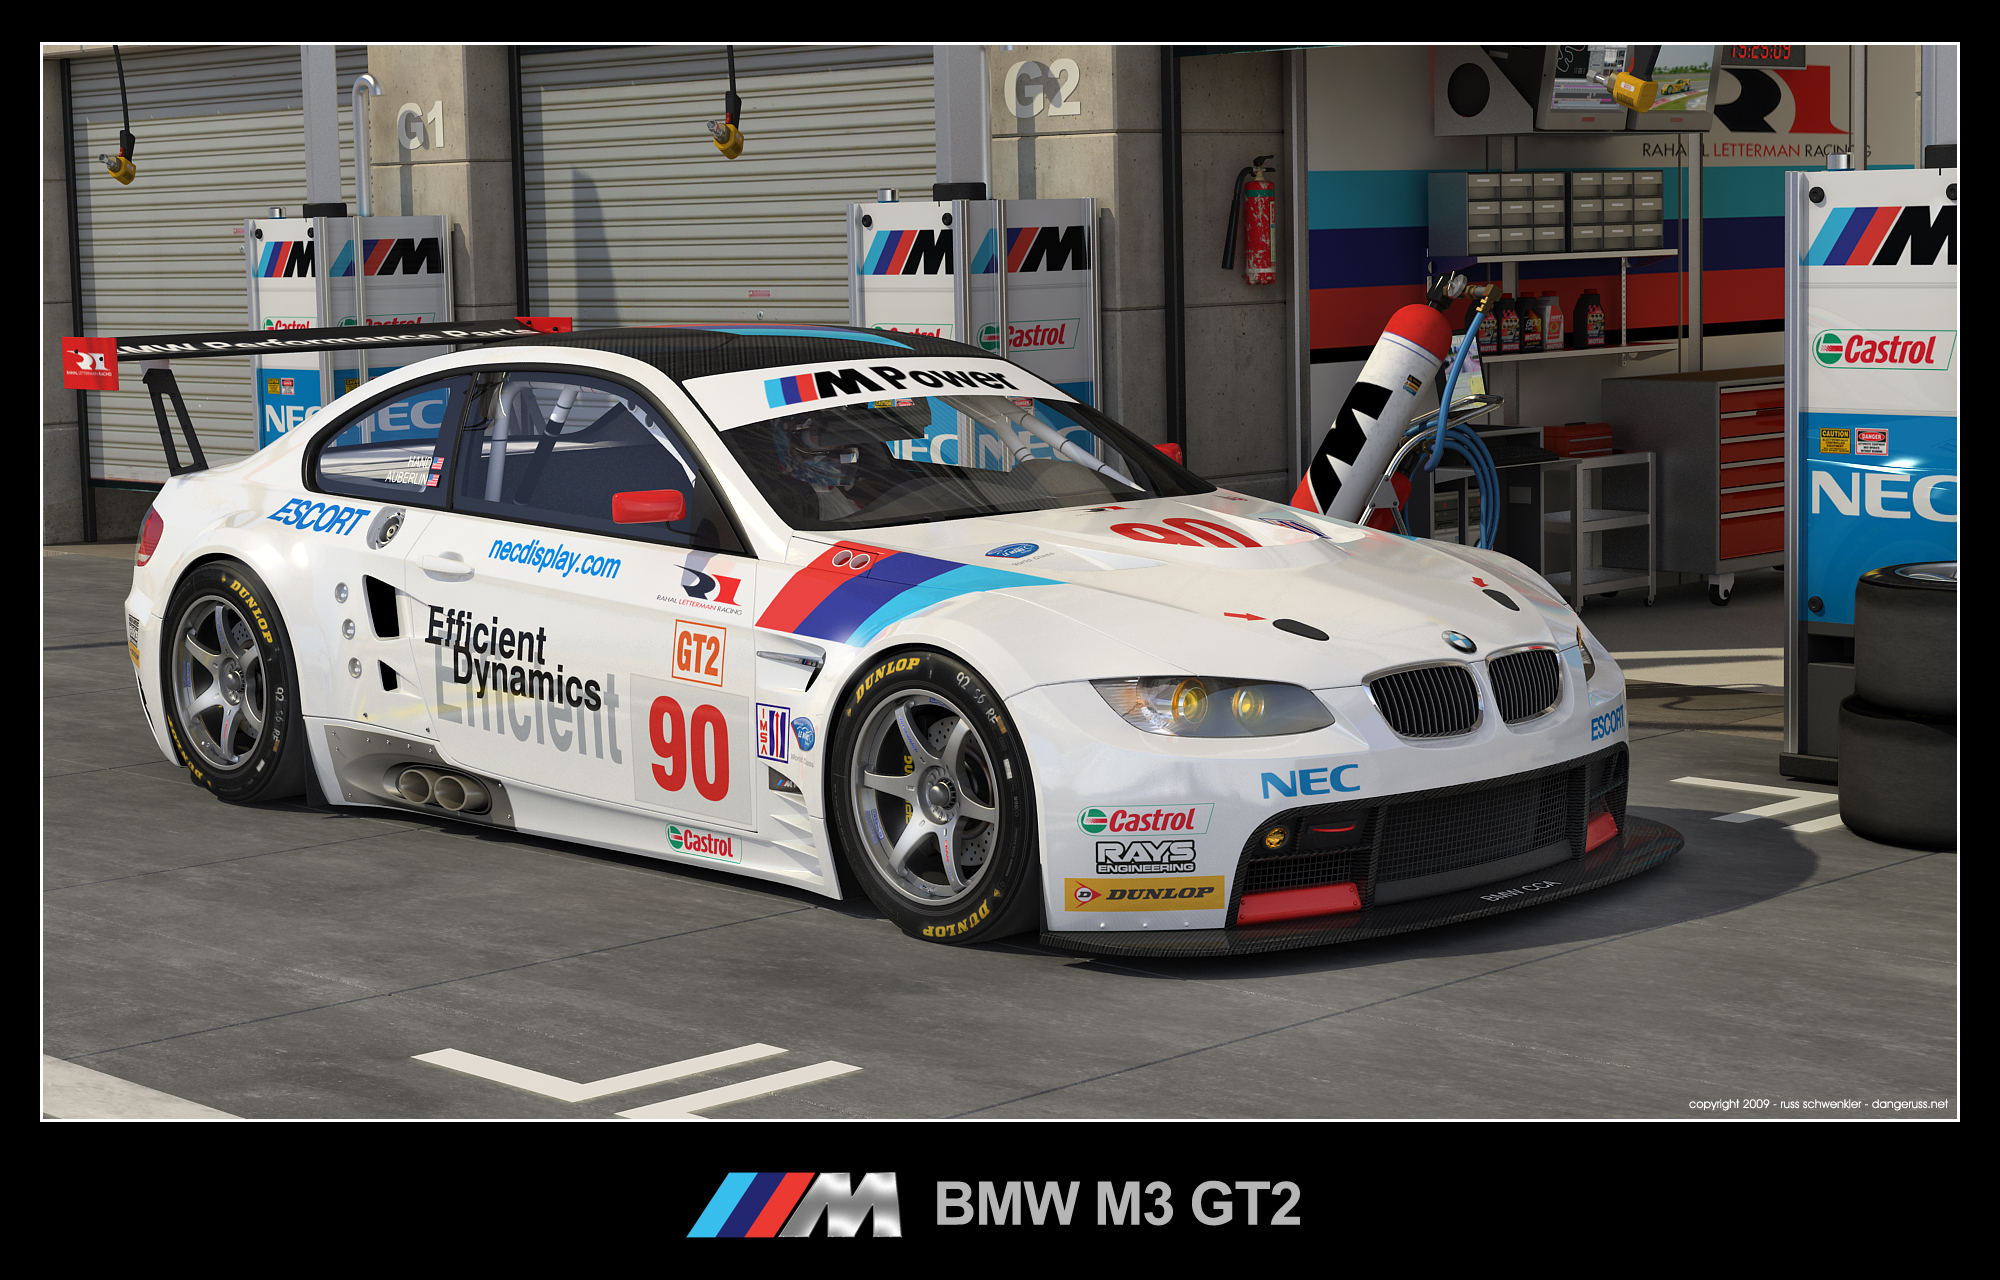
You can check the final image- 1 in high-resolution here (2000 x 1280, 1,4Mb).
You can check the final image- 2 in high-resolution here (2000 x 1280, 1,4Mb).
To get more texture for sports Car, we recommend visiting www.environment-textures site.