Terrain tutorial by Joel Carlo
Terrain
1. Open Photoshop and start a new document at 1500 x 1500 pixels. Pick a light gray color to fill your background.

2. Click on the filter drop down and choose Render - Clouds.
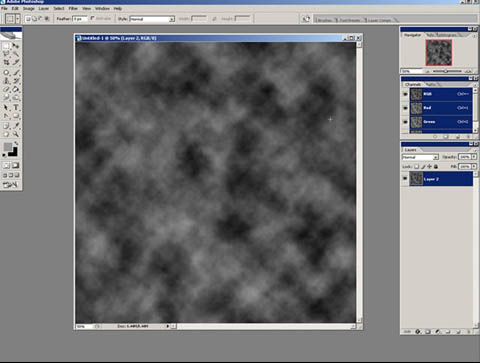
3. Now choose Render - Difference Clouds. Repeat this step as many times as you like until you get something comparable to the image below.
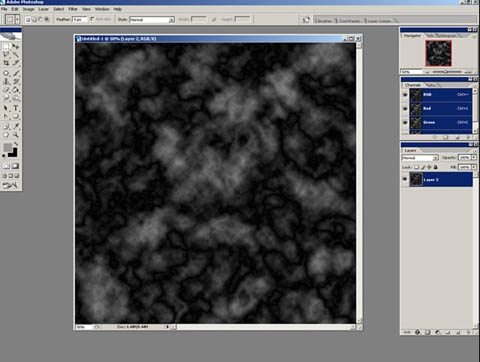
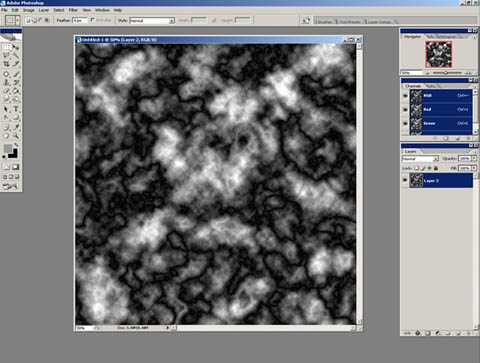
4. Finally, you'll need to increase your contrast. Go to the Image dop down and choose Adjustments - Auto Levels. Save the file as a bitmap.
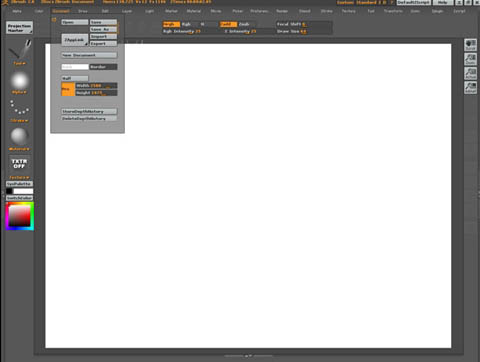
5. Open Zbrush and create a new document. I start off at a fairly large size (around 2500x1875). Zoom out to view your work area and adjust your background color using the solor picker, then choose Document - Back to set it in place.
6. In the side Tool menu, choose the Plane3D tool. Next go to the top Tool drop down and click on Geometry. Click on Divide 4 times to subdivide the Plane3D tool's mesh. You should be at around 262144 polys.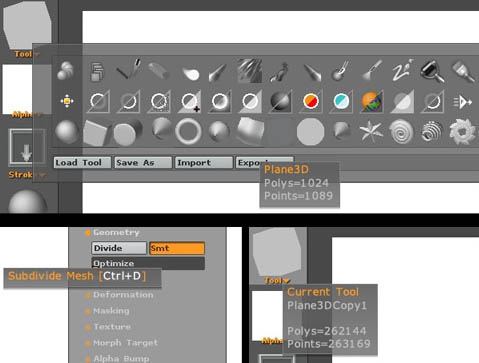
7. Go to Texture - Import and choose original bmp image you saved out of Photoshop. Draw your textured 3D plane on the canvas and click on Edit to position it at the angle shown below. Now go to the Tool drop down menu and click on Masking - Int to create a mask From Texture Intensity .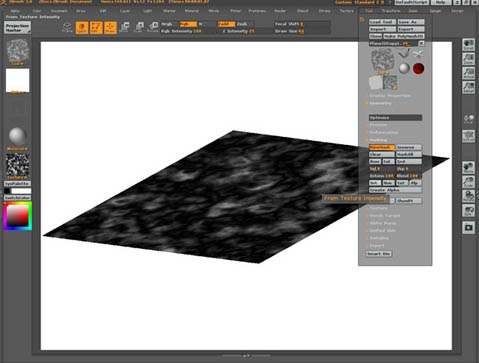
8. Use the Draw and Move pointers from the Edit menu to draw your terrain. You can adjust your draw tool size to create larger or smaller deformations. When you are satisfied with your results, turn off Texture and save your mesh. You now have realistic mountain terrain at your disposal.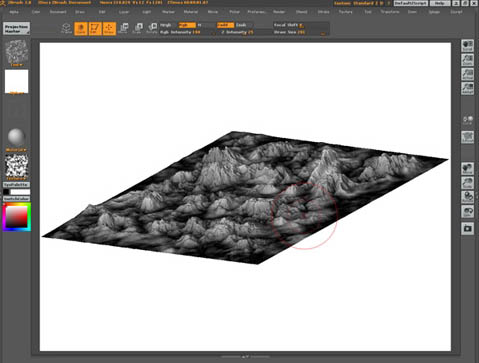
Click for viewing tutorial on free3dtutorials .
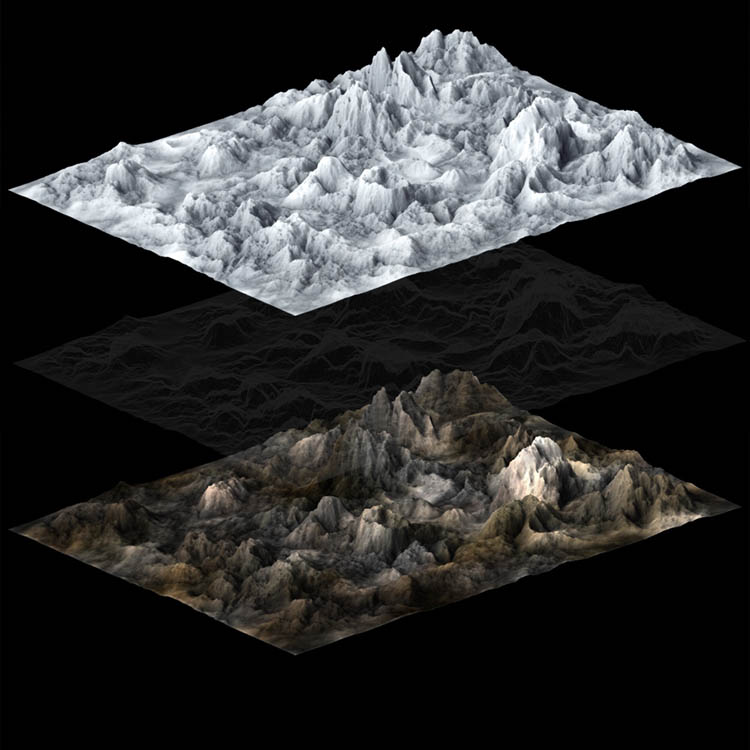
(c) Joel Carlo, www.joelcarlo.net


